Table of Contents
Max Sonar

This page is for the new MaxSonar plugin that replaced the original one in XTension 9.4.16. If you are looking for documentation for the original plugin it can be found here
The MaxSonar is a sonar rangefinder from Maxbotix with the unusual feature of an RS232 serial port making it easier to connect to a host computer rather than to a micro controller. It comes in many different configurations, ranges and accuracies. Even in a fully water proof enclosure with focusing horn.
Since they are slow speed serial they can be connected reliably over long twisted pair wires. Needing only 4 wires running back to the USB/Serial adaptor. This plugin also supports connecting them via Serial/Ethernet adaptors such as the Wiznet ethernet/Serial cards. See below for more info about the configuration options available in that case.
Connect via Serial Port:
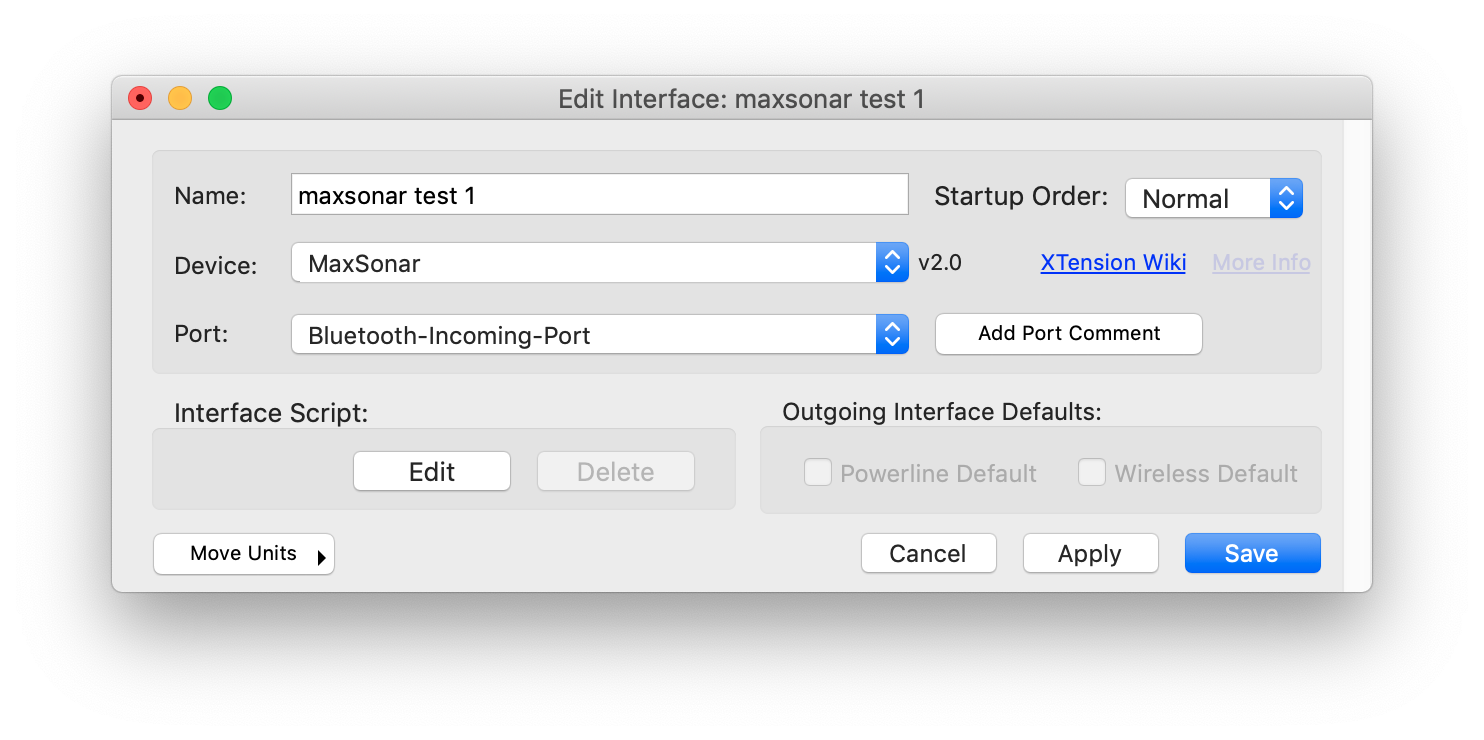 If connecting over a standard USB/Serial adaptor select that adaptor from the port popup after creating the new Interface. When using serial ports a separate interface will be needed for each max sonar that you wish to connect to.
For a serial connected device create a single Unit, assign it to the proper interface and make sure that the device type popup has “Distance” selected. The Address of the unit should be just the number 1 as only a single device can be connected over a single serial port. Make sure that the “Dimmable” checkbox is checked as well as the “Receive Only” and “Ignore Clicks” checkboxes.
Connect via TCP:
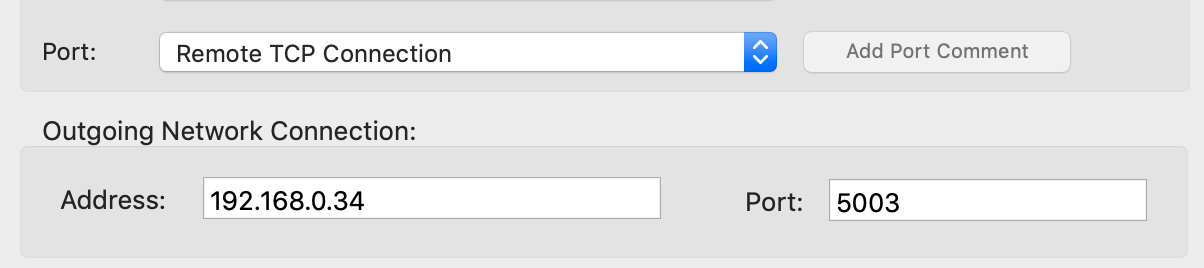 By selecting “Remote TCP Connection” from the port popup you can make an outgoing connection to a Wiznet or other Serial/Ethernet card in Server mode. If you are using the Wiznet in server mode then you will need a separate interface for each one you wish to connect to. In the Wiznet Configurator set the serial port settings to 9600 baud, no parity, no flow control, 8 data bits and 1 stop bit. Also on the networking tab it is important to make sure it’s set for “Server” mode as this will then listen for incoming connections from XTension. You will need to configure your Wiznet card with a static IP address or a DHCP reservation in your router in order to make sure that it’s always available on the address that XTension knows about.
For an outgoing TCP connected device create a single unit, assign it to the proper interface and make sure that the device type popup has “Distance” selected. The Address of the unit should be just the number 1 as only a single device can be connected over a port this way. Make sure that the “Dimmable” checkbox is checked as well as the “Receive Only” and “Ignore Clicks” checkboxes.
Connect via Server:
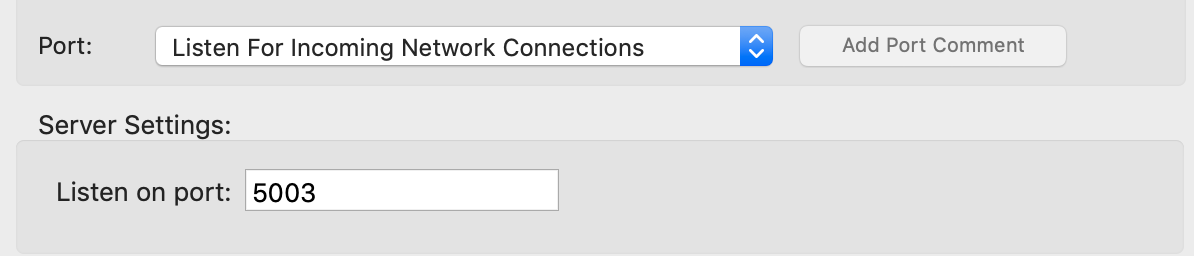 Lastly you can select the “Listen For Incoming TCP Connections” from the port popup and the plugin will start a server on the entered port. The Wiznet cards and most other TCP/Serial adaptors can also be run in client mode. Meaning they will make a connection to the pre-programmed server address. Use the above mentioned Wiznet Configurator to setup the serial port settings the same as in the Connect Via TCP example, but in this case set the networking options to connect as a Client. You will also have to enter the IP address of your XTension machine and the port that you are running your server on. Even though the popup says TCP Connections, you need to set the connection type in the Wiznet configuration to UDP.
When running a server, any reasonable number of max sonar devices can connect to the plugin. When a client first connects XTension will look up it’s MAC address and create a new Distance unit for you automatically and use the MAC address as the Address of the unit so that they will all be unique. In this way you can support multiple devices with a single interface instance.
Unit Configuration
The new plugin has more options for filtering than the older plugin had.
Initial Input Filtering:
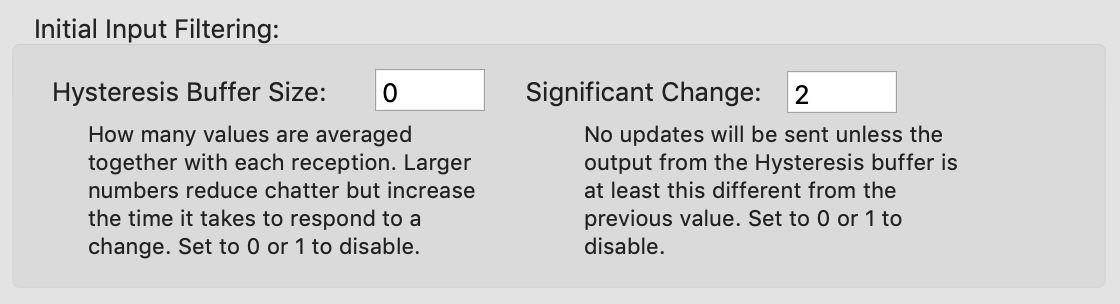 These options are identical to what they were in the older plugin. Since the value of the reading can jump around quite a bit it can be useful to do some initial filtering on it.
The Hysteresis Buffer Size is the number of readings that are held and averaged together before either sending the value on or passing it through to the next set of filters. Larger values will reduce jitter but also tend to make the values gently approach the new distance reading rather than jump from one to the other. Significant Change won’t send an update to the unit until the change from the last update is more than this amount.
Glitch Filter
 The Glitch Filter won’t send an update until the last “Stable Count” readings were all within the “Stable Range” of each other. This is the best way to catch smaller movements but filter out the jittering that is common with such sensors. With the glitch filter active the value won’t change immediately when the distance to the object being sensed changes, but a few moments late when the readings have settled down and stopped moving then the new value will be sent through.
Schmitt Trigger
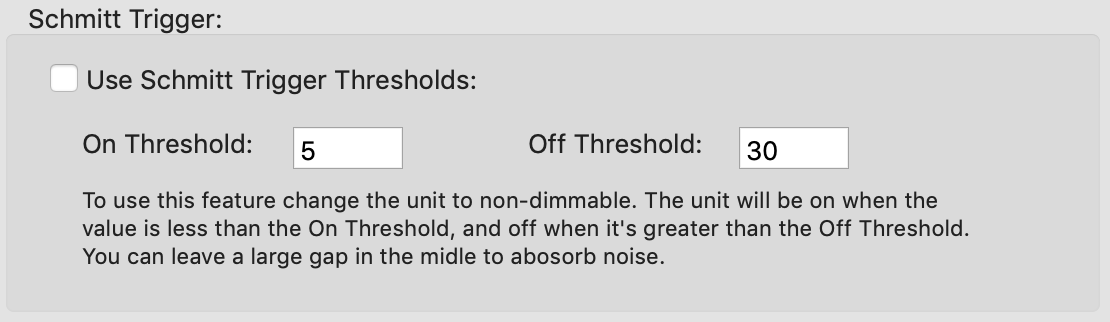 The Schmitt Trigger settings differ from the other filters in that you need to turn off the Dimmable checkbox in order to use this. You set an On Threshold and an Off Threshold. The unit will be on as long as the value is smaller than the On Threshold, but it will not turn off until it crosses the off threshold. This lets you measure the presence or absence of something while absorbing the noise and jittering that might occur in that middle space. This also takes care of one of the more common uses for these sensors without having to constantly process each reading inside XTension and execute a script saving CPU and log space. For more info on what exactly a Schmitt Trigger is and why it’s perfect for this sort of application see the Wikipedia Article
History:
The original Max Sonar plugin was part of XTension as early as 2008. This new MaxSonar plugin replaced it in XTension 9.4.16 in Feb of 2019.